


Now that you have a plethora of long, skinny triangles, it’s time to make your beads. For the next step, you’ll need:
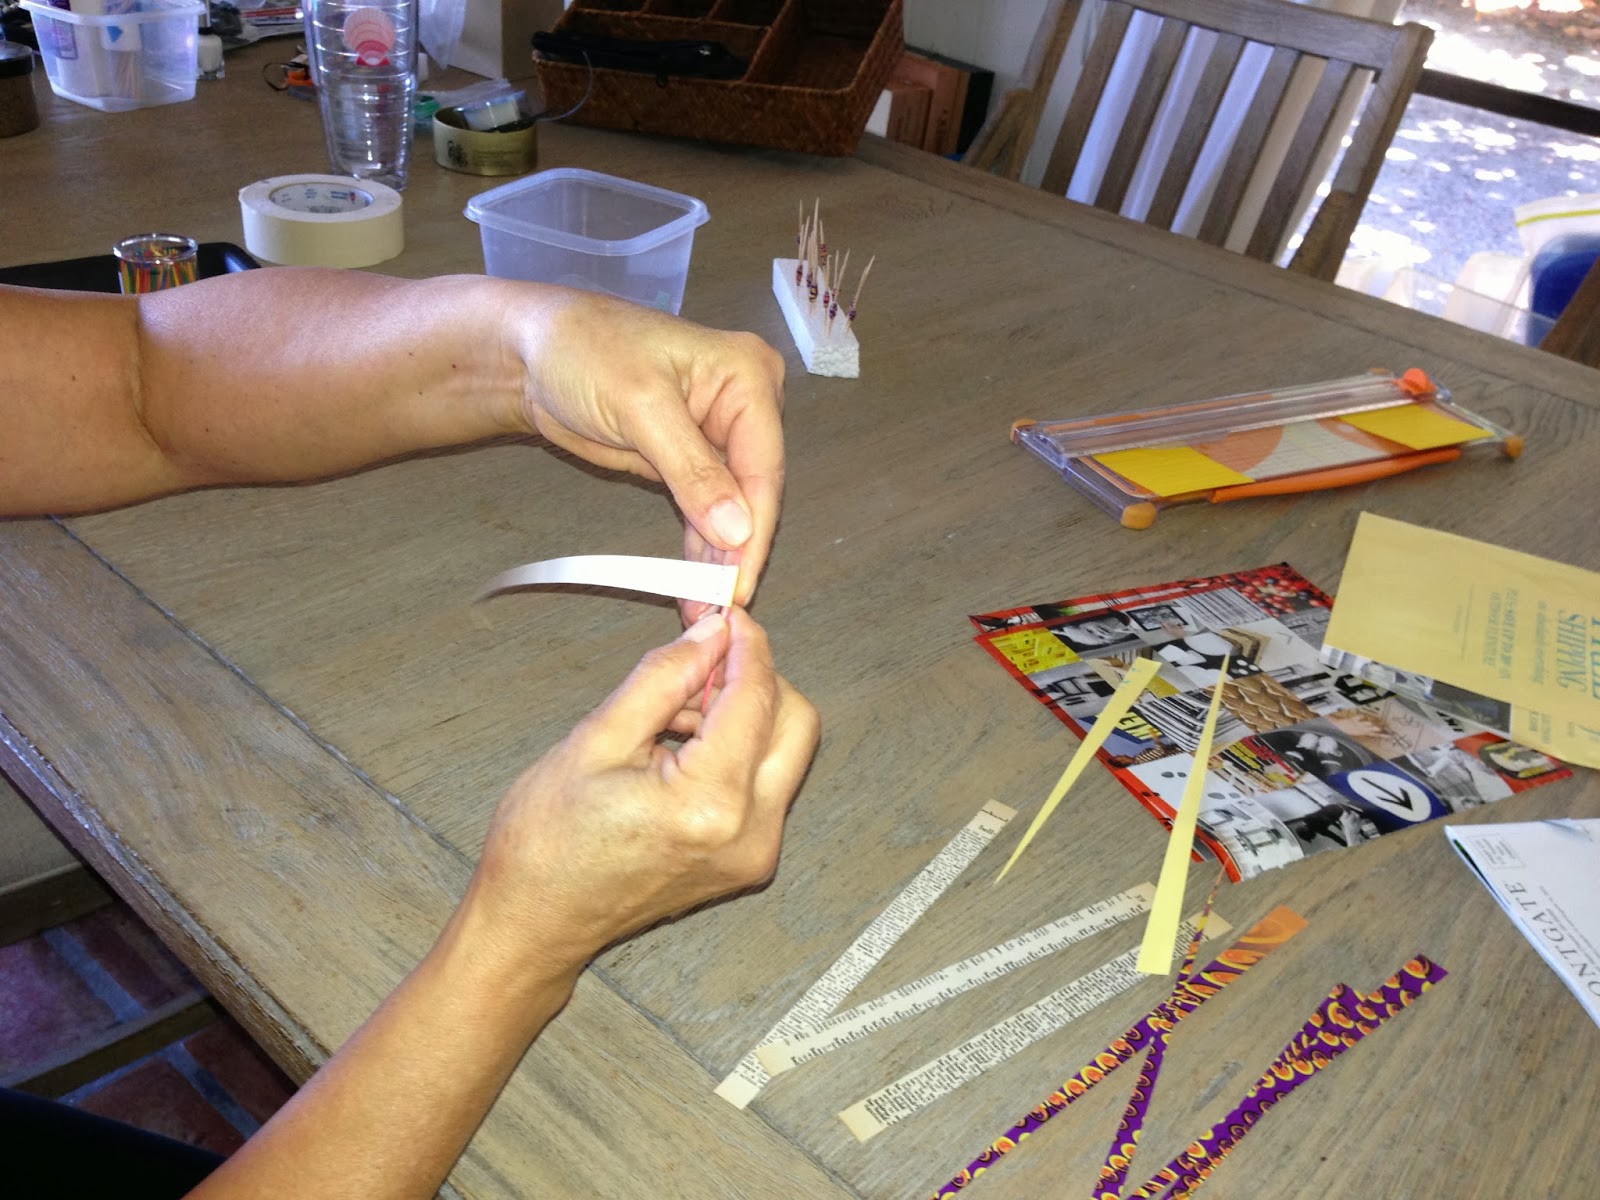
1. A lot of wooden toothpicks or skewers. They have to be ROUND, not squarish. These will be used as spindles. You’ll wrap your paper beads around the toothpicks to shape them.
2. A block of Styrofoam. As you finish your beads, you will stick the toothpicks into the Styrofoam so that they can rest and cure.
3. Glue. I like Aileen’s Tacky Glue. Whatever you choose should dry clear, dry fast, and grip quickly. I’ve tried glue sticks, but they are too mess. I like to use a coffee stirrer or a toothpick to dip into my glue and use as an applicator.
4. Sealer. Some people use clear nail polish. I prefer Diamond Glaze. I like to apply it with a brush.
Next, I’m going to show you my super-secret, super-duper, extra-special technique tip for making beads. You won’t read this anywhere else.


